By contributing author: Adam Powers
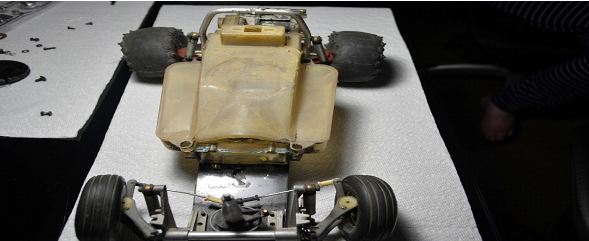
Last month, we left off with an introduction to the Sand Scorcher and a bit of a history. This month, we dig in to taking it apart. All of the original parts are not going to be used, just what we need as there are some better parts purchased for the restoration. We will focus on the gearbox as it’s a bit more involved as I remember correctly.
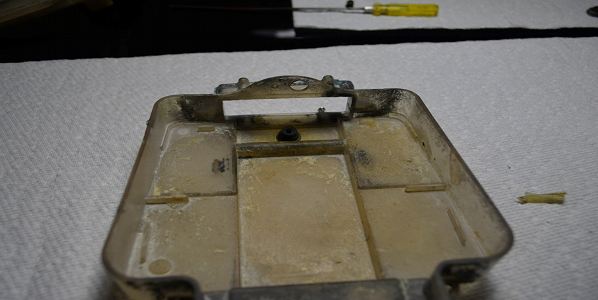
We’re not going to use the original electronics box from this car as an original ‘79 issue in better condition was found, so we’re going to take this one off and set it aside. The main purpose of these boxes was to keep all the electronics dry and free of sand and dirt. They were not always the best at doing that. This one took a beating throughout it’s life.
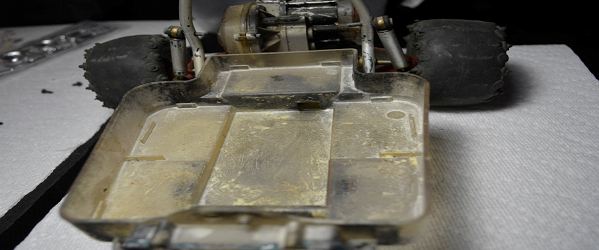
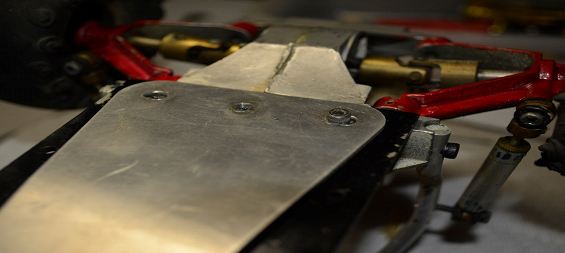
We’ll start by loosening the screws on the skid panel below the chassis and remove the bottom of the box:
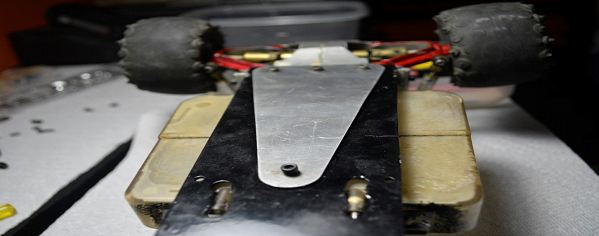
Next, we will take out the last screw and remove the gearbox:
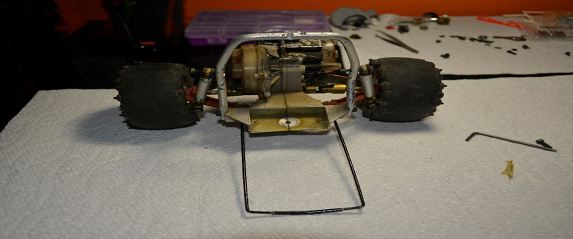
Next the chassis and the gearbox:
At some point, I painted the torsion bars. The rollover bar is pretty chewed up. There is a replacement!
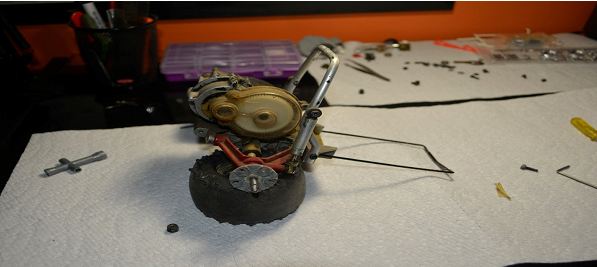
Taking the tires off!
Next, we are going to remove the rear shocks:
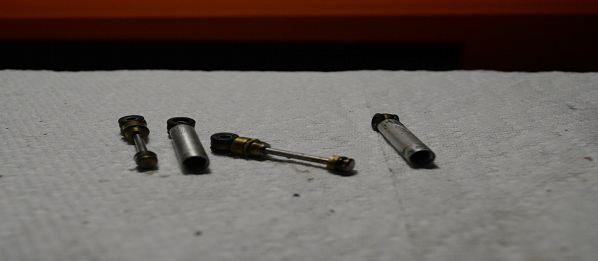
I decided to take apart the original shocks. Naturally, they were totally dry inside. But amazingly, they were really good shape almost no deterioration at all!
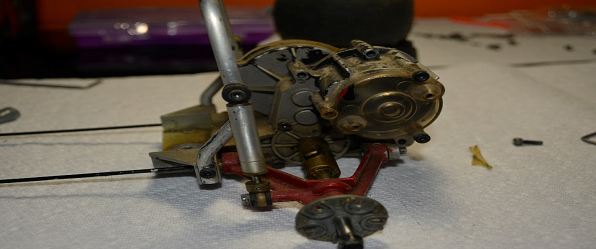
Next, the rollbar is removed:
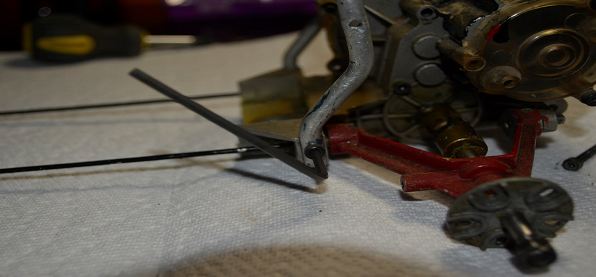
Next, we are going to remove the torsion bars and rear arms. This is quite detailed!
Taking out the Allen screw holding the left arm on:
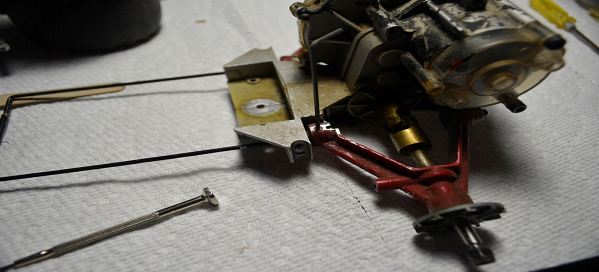
Removing the torsion bars and pins:
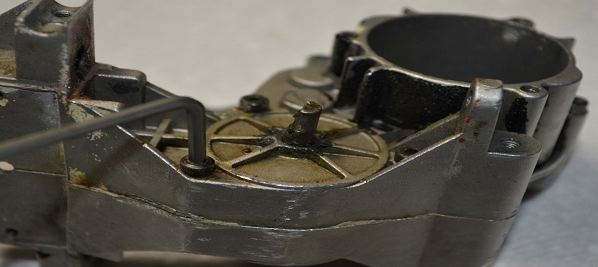
Gear Case Disassembly!
Finally!
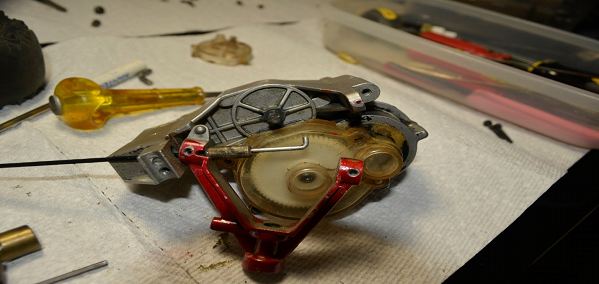
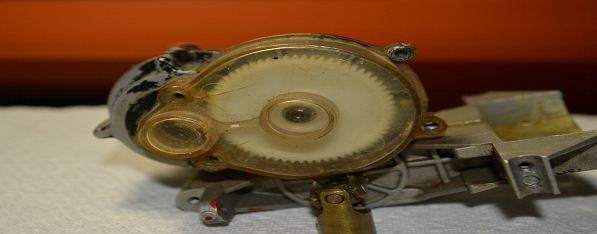
The gear case has some paint left on it from the 1980’s. I’m sure that will clean up. The cover itself, is a bit dirty with a couple of cracks. I tried to locate a 1979 issue used or NOS cover, with no luck. Can’t do much about the cracks. Everything should clean up and things will look good!
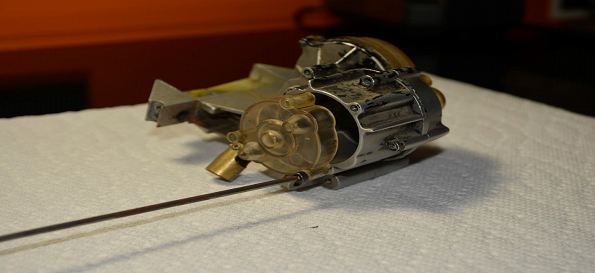
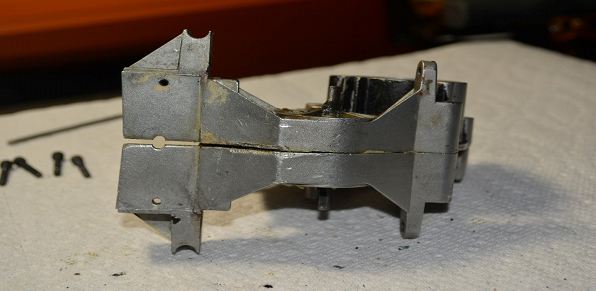
Removing the last screw for the motor dust cover:
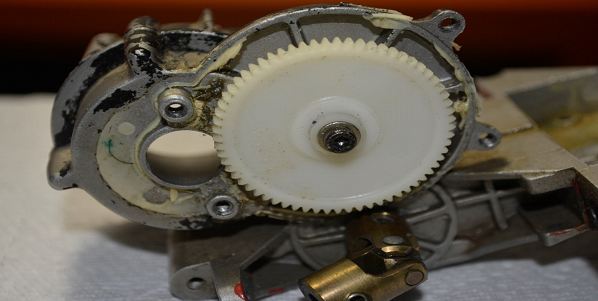
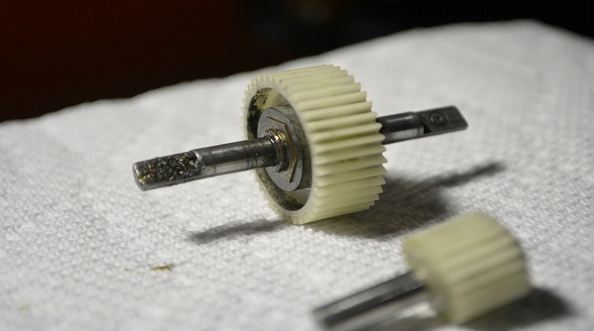
As suspected, there looks to be some filings in here, mostly plastic. We are not going to reuse the original gears anyways. Everything will be cleaned thoroughly before it is used again.

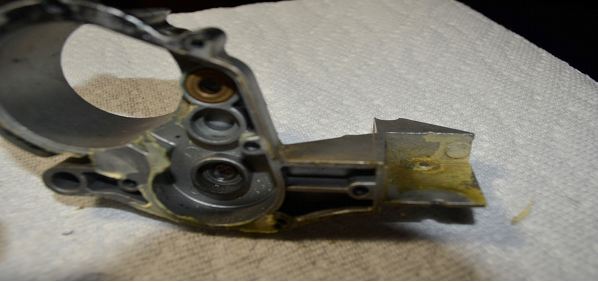
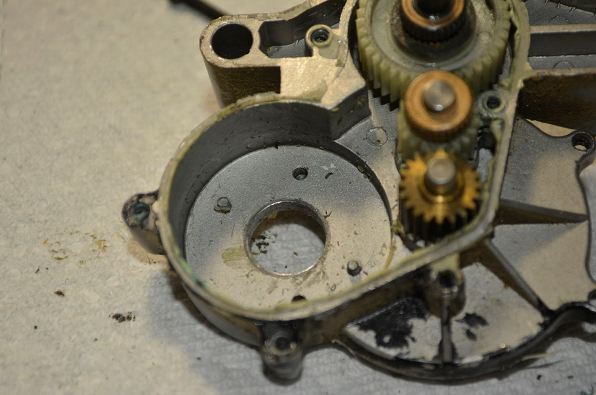
Needs a good cleaning for sure!

Same here. Spur gear looks a bit worn too.
Speaking of the gear. Does not look too bad in behind. Next, we are going to remove the universal joints. These are made from brass I believe.

This one took a bit more time. As it seemed to be really jammed on quite tightly. A bit of penetrating oil, a straight blade screwdriver and a small rubber mallet was no match.

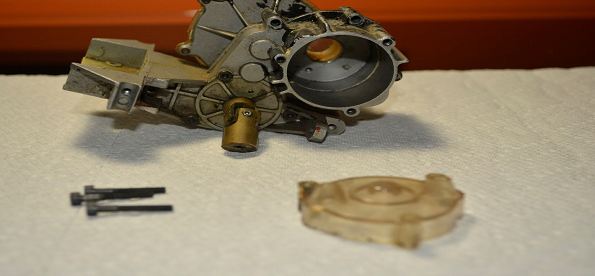
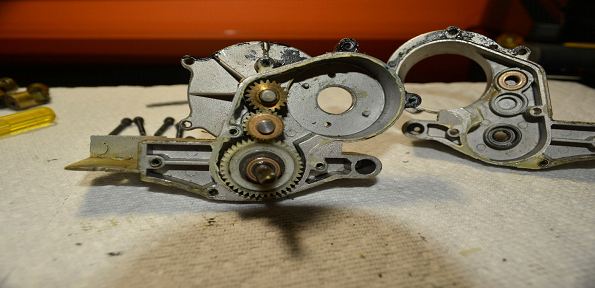
Now just removing the last couple of screws holding the case together. I don’t know about you, but I’m really excited to see what this looks like on the inside!
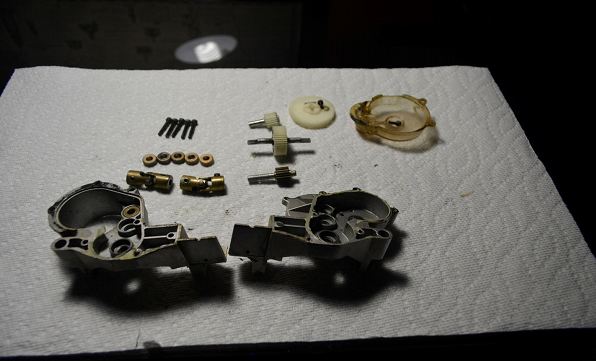
Splitting the gear case apart:
The gearcase will need a good cleaning during the restoration phase!
Not as bad as I thought, but I think we will skip using these.
I know this was a long segment, but I think it was worth it! Next month, we will start into the restoration phase of the gear box, plastics and some work on the body as well. Stay tuned!
If you have any comments or suggestions, feel free to put them in the comments.
Thanks!
Adam.