By contributing author: Adam Powers
Happy New Year!
After a computer hardware failure and backup recovery effort, we are ready to continue. There may be some photos missing due to a computer failure. We are going to work on the reassembly of the sand scorcher. Electronics will be left for another segment.
First, we are going to assemble the front-end components;
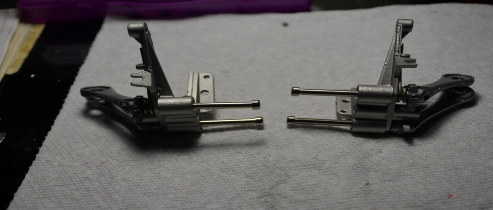
This is a NOS front end kit I was able to find locally: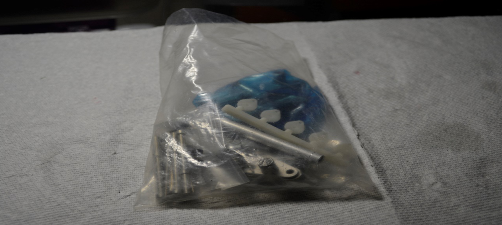
First, we will install the upper arm shafts into the front axle:
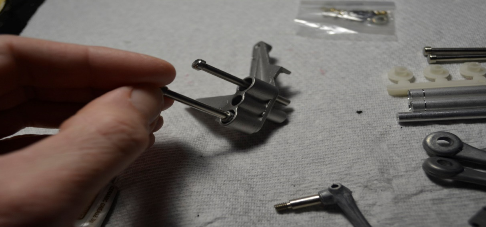
Next, we will put on the front spring, the upper and lower arms then tighten them:
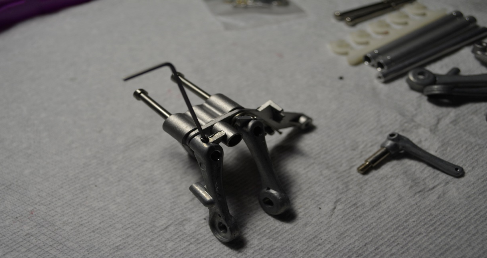
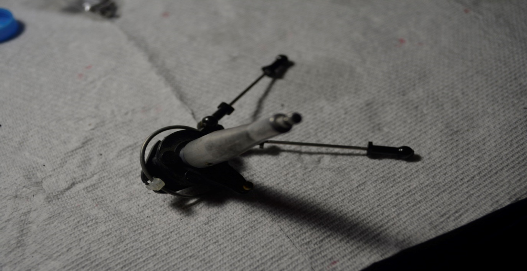
Now, we will snap ball connectors into the ball plates. The next set will be threaded into the steering arms on both sides. Finally. The arms will be snapped into place:
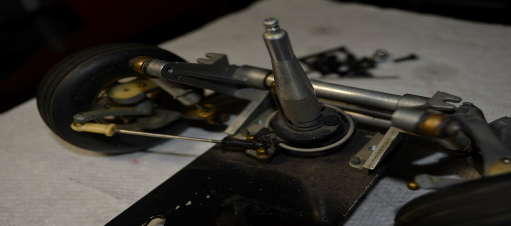
Now, we will put the front end together, making sure we put grease on both shafts:
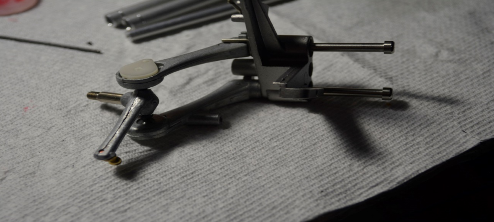
Finally, the shocks will be filled with the supplied oil (amazing, it didn’t leak from the bottle after 40 years!) and then attached to the front end:

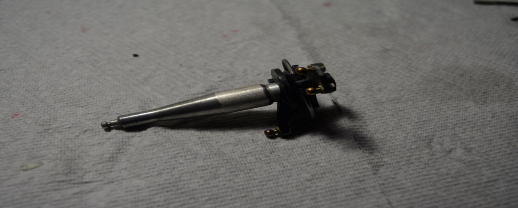
One part that was not included in the parts bag was the centre post- steering rod So, it was removed from the original Sand Scorcher chassis and cleaned up:
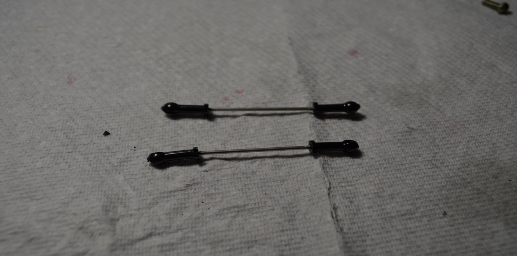
Assembly of new tie rods and ends. Make sure these are even!
Assembly of the rods to the server saver on the centre post:
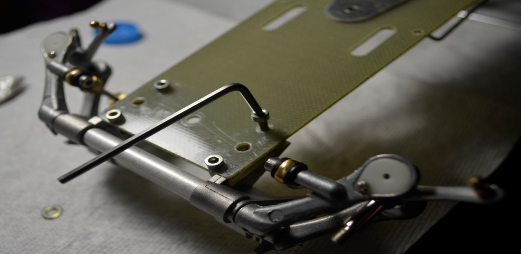
Now, we will just assemble the front end to the front of the chassis. Just putting the last allen bolt in now.
Just putting on the original bumper. I found this used on eBay. This is a 1979 version. The 2010 version is black in colour:
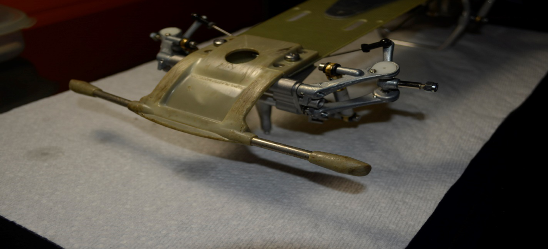
The front end is now assembled and attached to the car!

Even after a long delay, I hope you have enjoyed this segment of the series and I look forward to bringing the next one to you. If you have questions or comments, feel free to contact me at:
